Simple Saving of 8 & 16-bit ACES Images
NOTE The Color Management, ACES and OCIO section is under revision, and scheduled for release soon. For the time being, the instructions below offer the simplest way to get ACES output.
Dealing with ACES and OCIO can get complicated, especially if all you need to render are tone-mapped 8 or 16-bit PNG format images. Rather than bothering with config files, downloads, transforms and so on, as described in the other ACES topics, there is an easier (though less flexible) way. Just follow these steps:
Create an Octane Camera
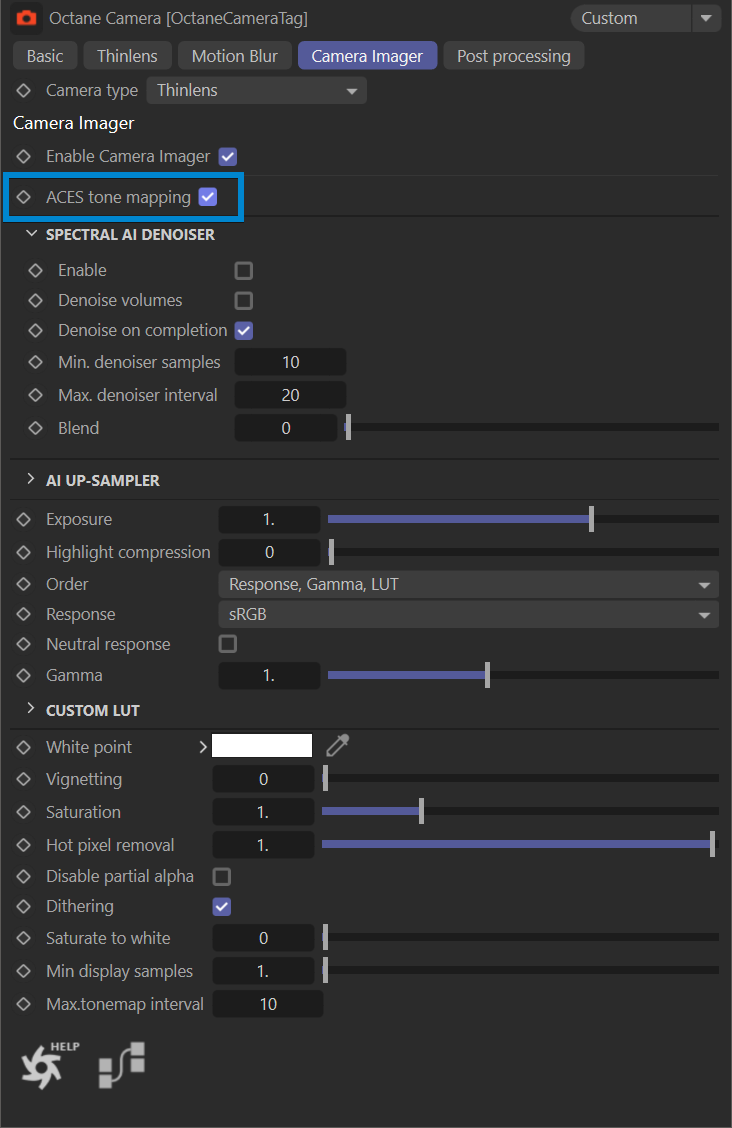
Select the Camera Imager tab
Enable the Camera Imager
Enable ACES Tone Mapping
Once this setting is enabled, just render to 8 or 16-bit PNG as normal — PNG is the only Octane-supported image format produced by ACES Tone Mapping, any other formats will be converted in order to save the file.

ACES Tone Mapping
Octane Camera tag > Camera Image tab > ACES Tone Mapping
The ACES Tone Mapping setting makes use of the built-in ACES function in newer versions of Octane. There are no files to load or configure; instead, any image that is created with this toggle enabled will be tone mapped using the built in ACES functions. These images will be 8 or 16-bit with an sRGB response curve.
IMPORTANT Once rendered with the ACES Tone Mapping setting, the look will be "baked in," and you will lose any ability to correctly change the color space or response curve (gamma). If you need to have the ability to make changes like these, then use the other methods described. THIS SETTING CANNOT BE UNDONE ONCE RENDERED. IF CHANGES ARE REQUIRED, A NEW RENDER WILL BE NECESSARY.
Saving ACES Tone Mapped 8 or 16-bit Images - Enable the ACES Tone Mapping toggle Octane Settings > Camera Imager > Imager or Octane Camera tag > Camera Imager - Set Buffer Type to HDR (Float 16-bit or Float 32-bit) - Set Color Space to ACES2065-1 - Optional: ENABLE Use Denoised Beauty Pass (if desired) - DO NOT USE FORCE TONE MAPPING Octane Renderer Settings > Main tab - Choose the 8 or 16-bit image output format (PNG, JPG) Render Settings > Save panel